Unete a nuestra comunidad
Suscríbase para recibir inspiración y acceso exclusivo.


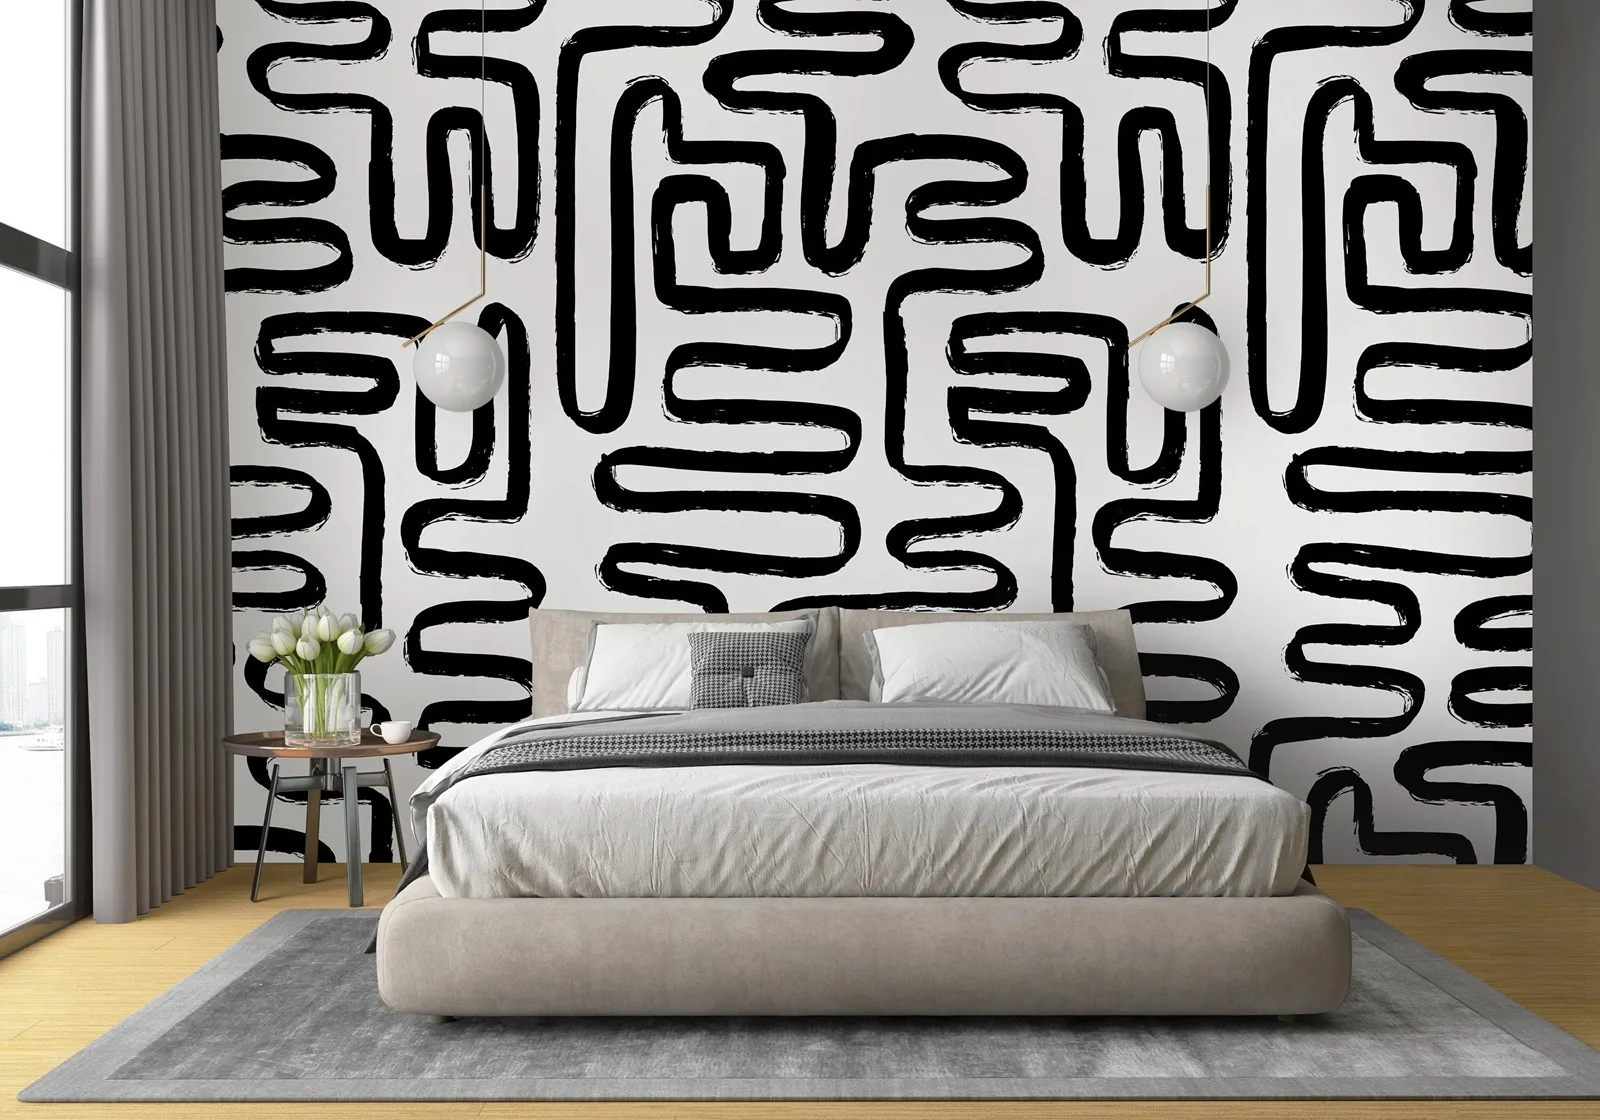
La pureza del trazo en un contraste absoluto: una oda a la simplicidad sofisticada y al orden visual.
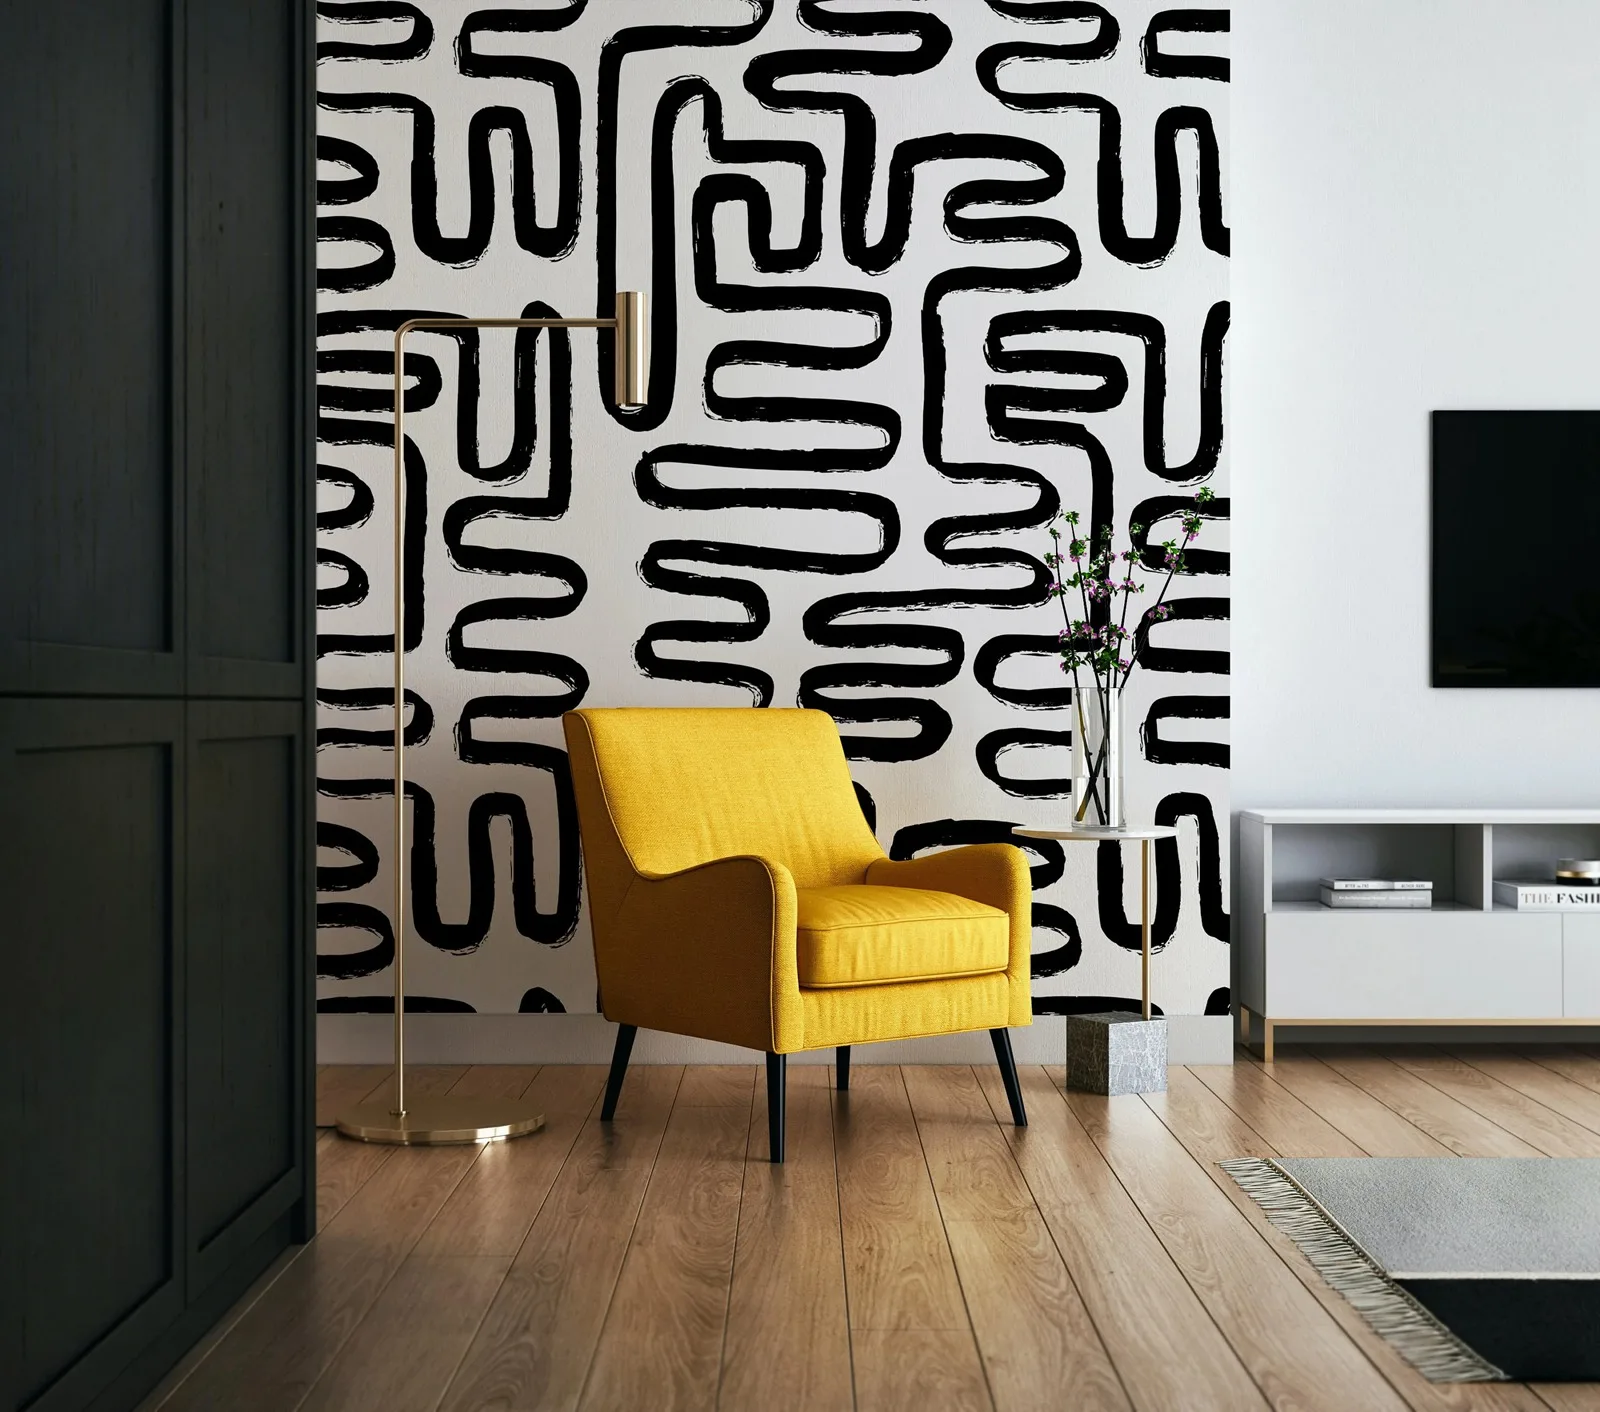
Eleve la narrativa de sus paredes con el Monochrome Abstract Lines, un revestimiento que captura la esencia del diseño escandinavo a través de una abstracción lineal impecable. La interacción entre el blanco puro y el negro profundo crea un dinamismo gráfico que aporta estructura y una elegancia sobria a cualquier entorno. Inspirado en el movimiento Boho-Minimalist, este mural es la pieza clave para quienes buscan una distinción arquitectónica sin saturar el espacio. Es el fondo perfecto para destacar mobiliario de autor en maderas claras o acentos metálicos, ideal para estudios de diseño, salones de concepto abierto y dormitorios que celebran la serenidad contemporánea.
| Atributo de Lujo | Detalle de Ingeniería Estética |
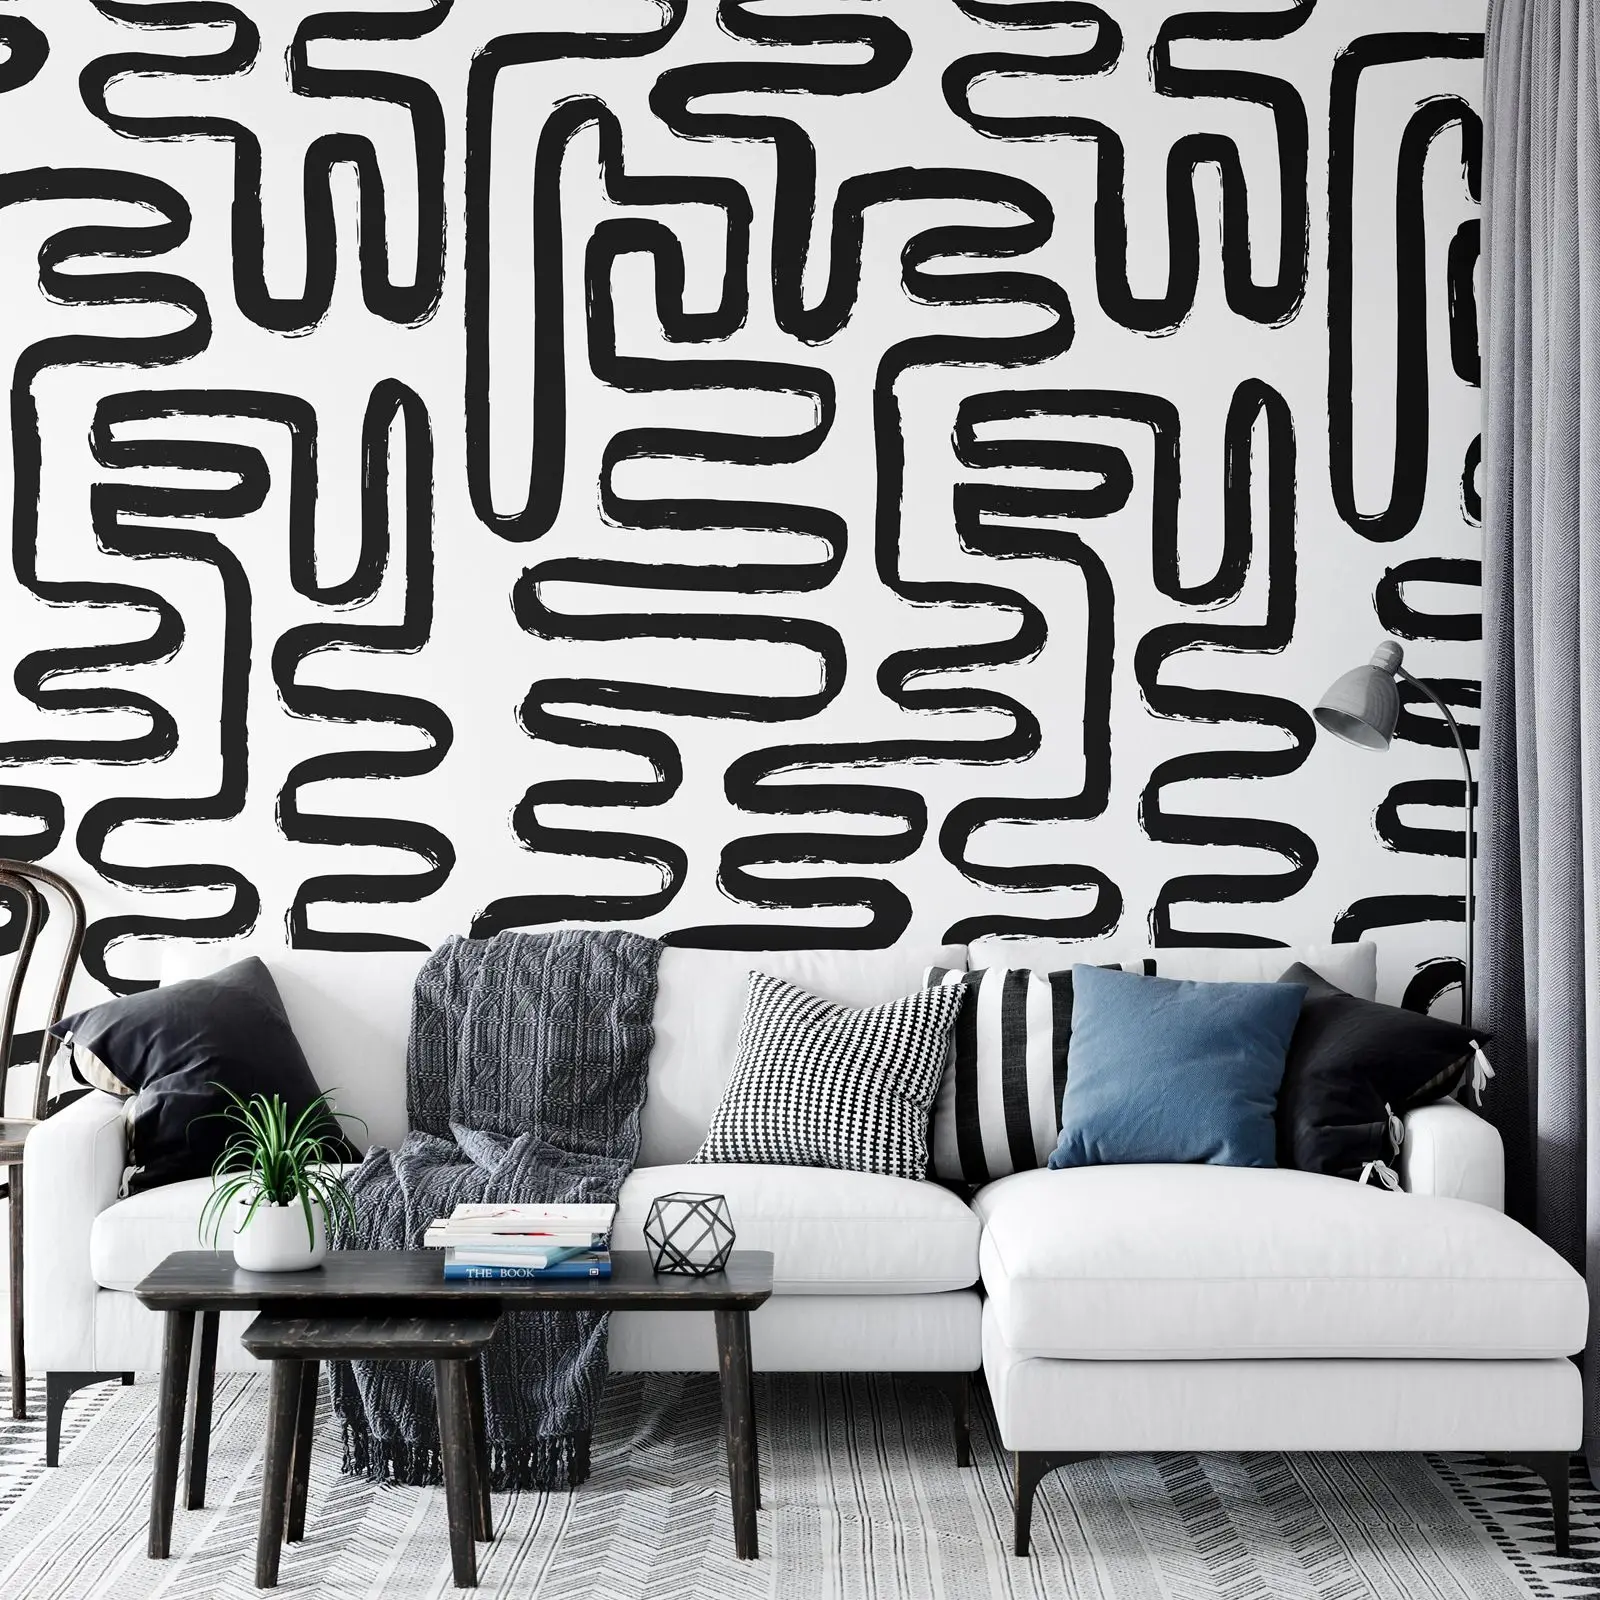
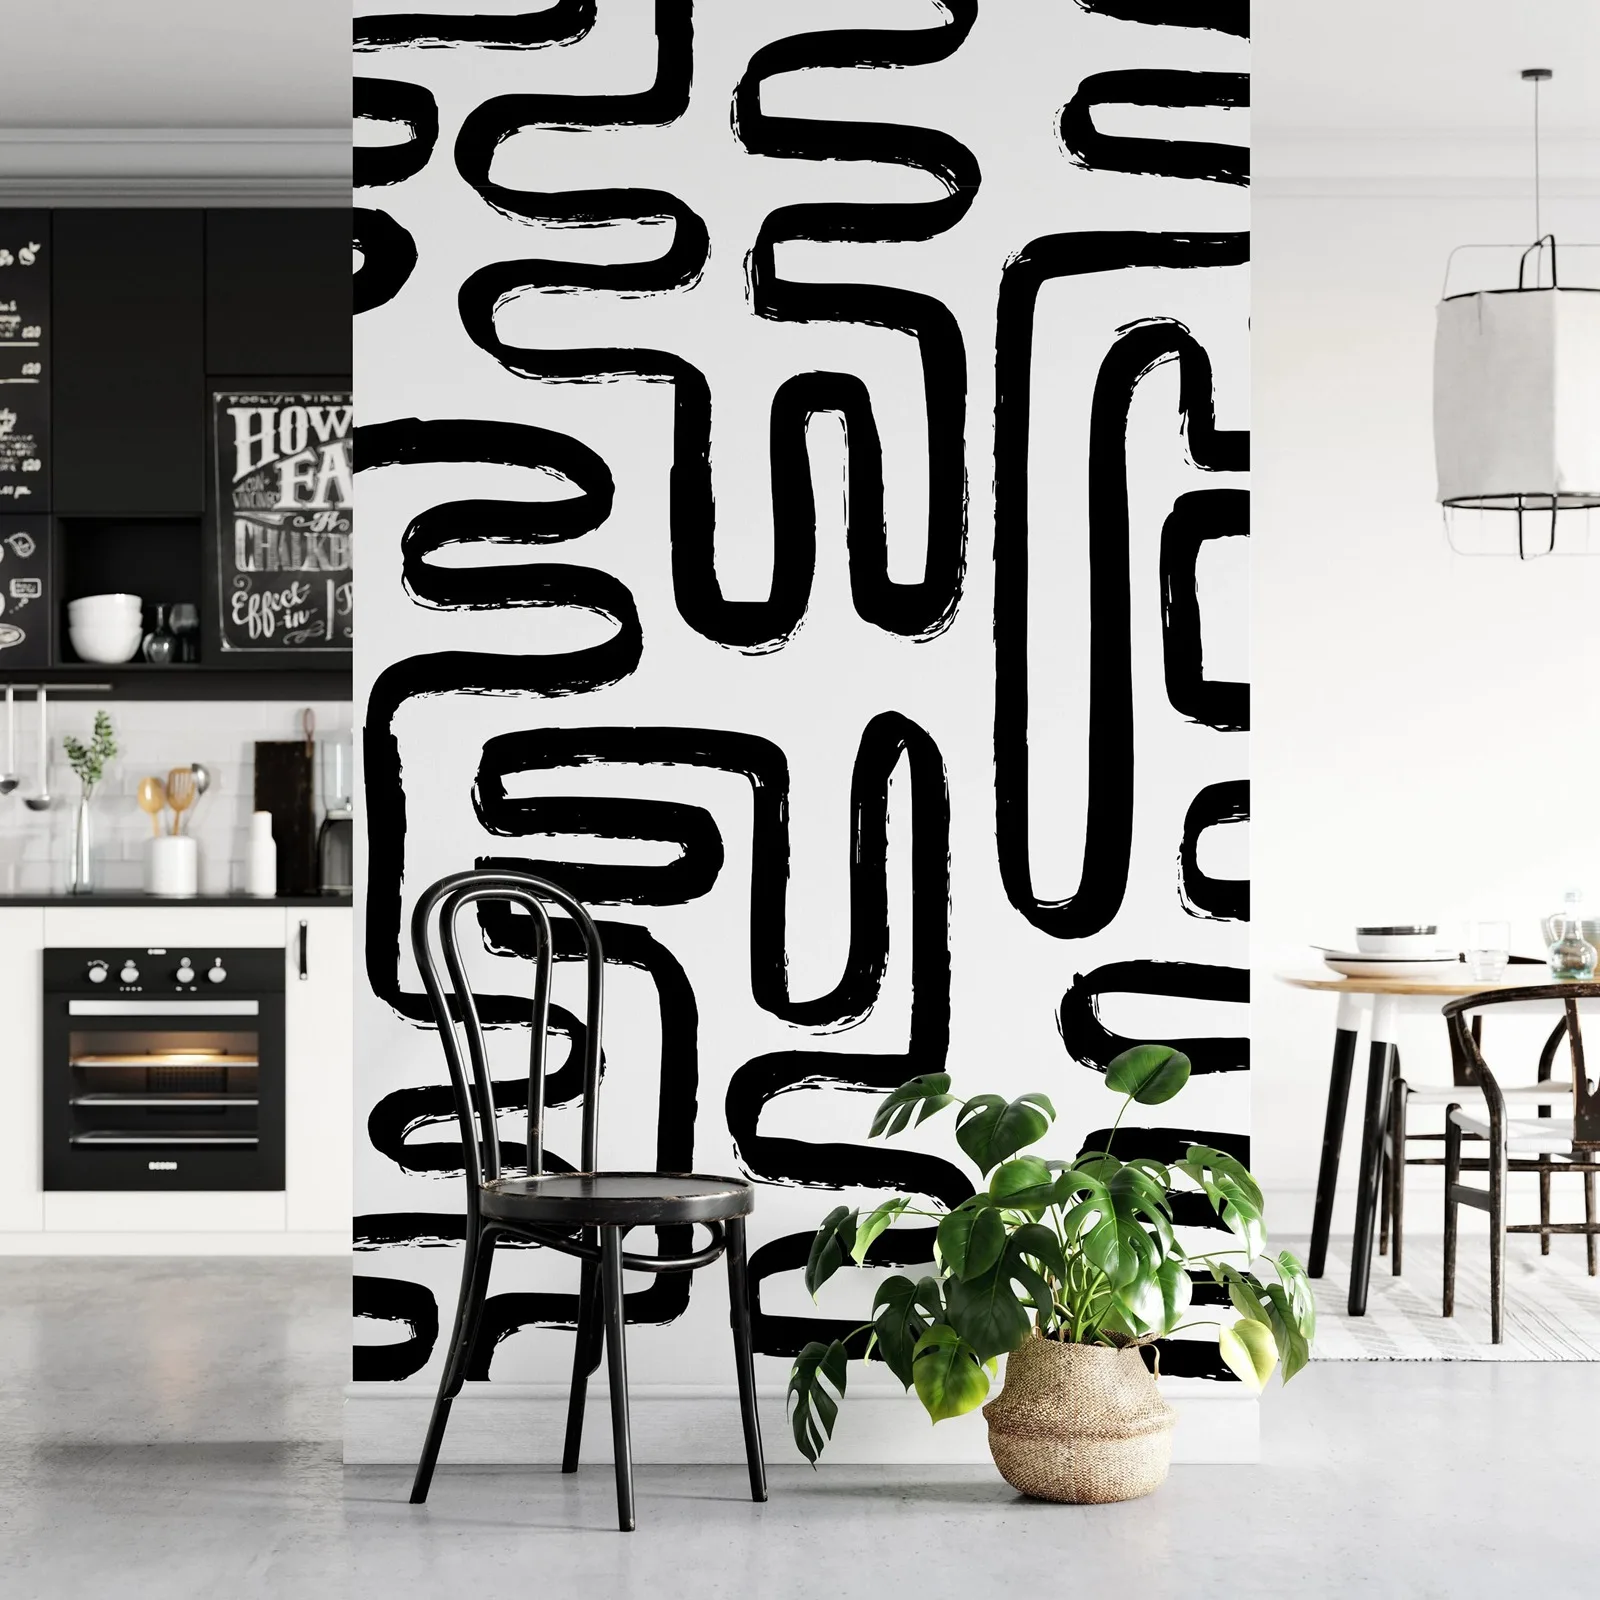
| Arquitectura Linear-Abst | Patrón de líneas fluidas diseñado para generar una sensación de movimiento orgánico y amplitud espacial. |
| Contraste Nordic-High | Dicotomía cromática de alta fidelidad que define el carácter de la estancia con una elegancia atemporal. |
| Versatilidad de Soporte | Disponible en ingeniería Peel & Stick para una aplicación técnica inmediata o Tradition para una instalación clásica. |
| Acabado Matt-Satin | Superficie de baja reflectividad que suaviza la luz ambiental, ofreciendo una apariencia impecable desde cualquier ángulo. |
| Estética Scandi-Boho | Fusión maestra entre el rigor nórdico y la libertad bohemia, adaptándose a interiores modernos y vanguardistas. |


STEP 1: Prepare the wall surface
Your wall must be completely flat, clean and dry. Levels rough surfaces, rough, holes and uneven spots.
Your wall should be a uniform color. If not, you may notice differences in color on your wall once installed. If your wall has multiple colors, we recommend that you paint again.
Make a vertical line with a plumb line on the left edge of the area you want to cover with the mural. If you have a plumb, one can make your own by tying a heavy object on the end of a rope. This line is very important because it is the guide to start placing your mural.
STEP 2: Prepare the wallpaper
The wallpaper panels are made with a width of 50 cm(19.7"). Panels are received printed continuously on a roll and numbered at the top.
Cut independent panels and do a preview on the ground following the numerical order from left to right.
Measure with a meter the height of your wall. If it's less than the photomural, you must cut it to fit properly. Do it while you have it on the floor but leave a margin of an inch to correct any differences in level on the wall.
STEP 3: Prepare the glue
You may buy the glue from your supermarket, confirm it's for non-woven wallpaper use.
Prepare the glue following the instructions on the bag of the glue you bought. Do it slowly. So you will obtain a uniform mixture and without bubbles.
STEP 4: Attach the paper to the wall
Applying glue on the wall evenly using a brush or a paint roller. Start distributing from the line you marked as a guide to the plummet. Don't paste the entire wall, do it only in the area that will cover the first panel on the left, leaving a few inches outside the right.
Apply the first panel of the mural on the wall starting at the top left. Check that is aligned with the guide.
Presses against the paper with a dry roller or sponge to remove any air bubbles.
Place the following panels in the same way in numerical order. The panels must not be mounted on each other but are set on edge.
Clean the excess glue with a damp sponge.
STEP 5: Finishing
With the help of a ruler and a cutter, adjust the sides and the top and bottom of the wall if necessary.
Let dry 24 hours; you will get a perfect final result